
Es befinden sich keine Produkte im Warenkorb.


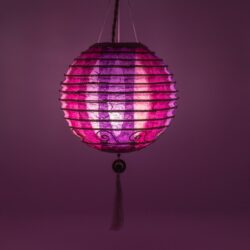
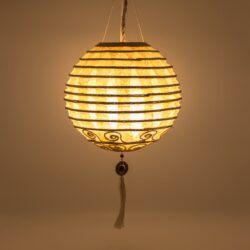
Indische Dekoration und Wohnaccessoires
Verzaubere dein Zuhause mit indischer Dekoration und mach deine Wohnung zu deinem Wohlfühlort. Mit fair gehandelten Wohnaccessoires aus Indien findest du bei uns die idealen Gegenstände, um deiner Wohnung einen orientalischen Hauch Indiens zu verleihen.
Unsere beliebtesten Artikel
-20 %
(48)
Ab 19,96 €
-20 %

(10)
Ab 9,52 €
-20 %

(19)
Ab 15,92 €

Ab 3,95 €
-20 %
(12)
Ursprünglicher Preis war: 39,90 €31,92 €Aktueller Preis ist: 31,92 €.
-20 %

(10)
Ab 15,92 €
-20 %
(14)
Ab 1,96 €
Ursprünglicher Preis war: 15,31 €0,00 €Aktueller Preis ist: 0,00 €. / 100 g

Ab 3,45 €
-20 %
(22)
Ursprünglicher Preis war: 17,90 €14,32 €Aktueller Preis ist: 14,32 €.
-20 %
(19)
Ab 14,36 €

(1)
Ab 3,95 €
-20 %

(13)
Ursprünglicher Preis war: 44,90 €35,92 €Aktueller Preis ist: 35,92 €.

Wer ist Karmandala?
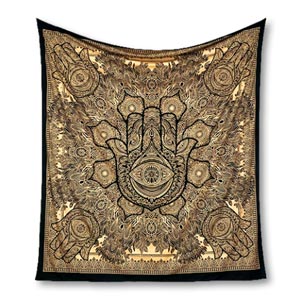
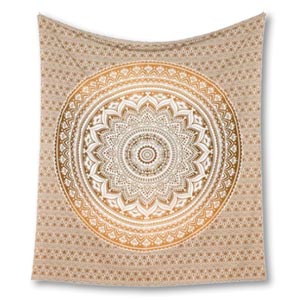
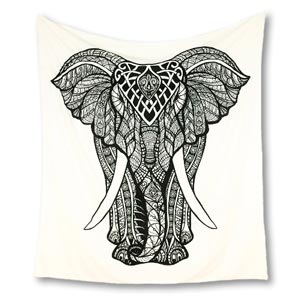
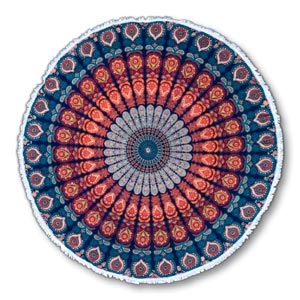
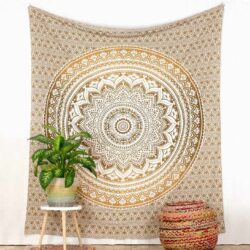
Karmandala ist dein Online Shop für indische Dekoration und Wohnaccessoires aus fairem Handel. 2015 mit Wandtüchern gestartet, findest du heute das gesamte Sortiment an Wohntextilien wie indische Vorhänge, Mandala Kissen und Wandteppiche bei uns.
Wir stehen auf faire Beziehungen zu unseren Händlern, wie zu unseren Kunden. Unsere Händler und Produzenten kennen wir persönlich. Kurze Kommunikationswege ermöglichen uns eine erfolgreiche Zusammenarbeit, um wunderschöne Dekoration aus Indien zu dir nach Hause zu bringen. Fair gehandelt, aus nachhaltigen Rohstoffen und klimaneutral verschickt.
Unsere Vision
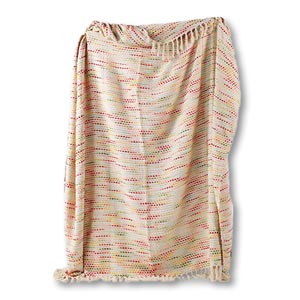
Indische Wohndekoration für jeden Stil und jeden Anlass. Fair gehandelt, aus einer Hand. Wir möchten unser Sortiment stetig um passende Artikel erweitern, mit passenden Stoffen und Wohnaccessoires, zur Dekoration des gesamten Wohnraums. Ob Wandtuch, Tagesdecke oder Mandala Bettwäsche, mit Karmandala kannst du in deinem Zuhause einen Hauch des Orients erschaffen um dich zu jeder Jahreszeit wohl zu fühlen. Alle unsere Artikel kannst du jederzeit online bestellen und dir die Schätze indischer Wohndekoration nach Hause liefern lassen.
Neue Artikel im Shop
-20 %
Neu

Ursprünglicher Preis war: 87,92 €69,99 €Aktueller Preis ist: 69,99 €.
-50 %
Neu
Ursprünglicher Preis war: 39,90 €19,90 €Aktueller Preis ist: 19,90 €.
-20 %
Ursprünglicher Preis war: 5,90 €4,72 €Aktueller Preis ist: 4,72 €.
-20 %
Ursprünglicher Preis war: 5,90 €4,72 €Aktueller Preis ist: 4,72 €.
-20 %

Ursprünglicher Preis war: 5,90 €4,72 €Aktueller Preis ist: 4,72 €.
-20 %
Ursprünglicher Preis war: 5,90 €4,72 €Aktueller Preis ist: 4,72 €.
-20 %
Ursprünglicher Preis war: 5,90 €4,72 €Aktueller Preis ist: 4,72 €.
-20 %

Ursprünglicher Preis war: 5,90 €4,72 €Aktueller Preis ist: 4,72 €.
24,90 €
-39 %
Ursprünglicher Preis war: 64,90 €39,90 €Aktueller Preis ist: 39,90 €.


Folge uns auf Instagram


Werde ein Teil unserer Community. Inspiriere dich von Kundenbildern, erfahre, wenn es etwas Neues gibt, erhalte spannende Eindrücke und mache mit bei Gewinnspielen.
… oder schicke uns deine eigenen Bilder!
Karmandala-Moment teilen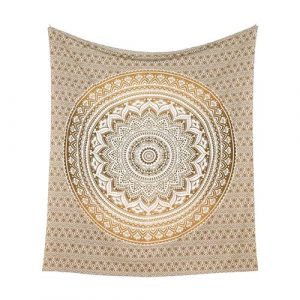 Wandtücher
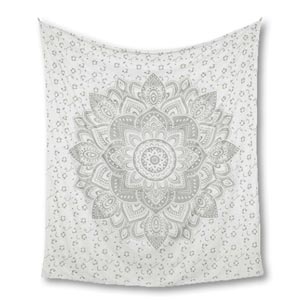 Silber Wandtücher
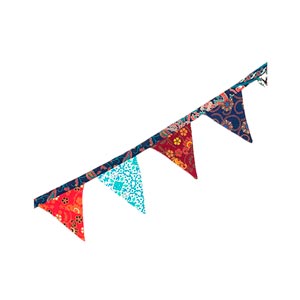 Wimpelketten
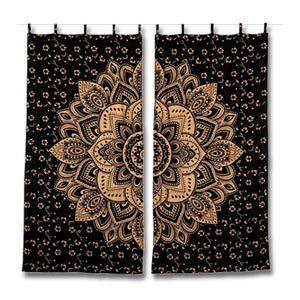
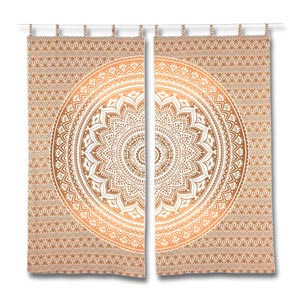
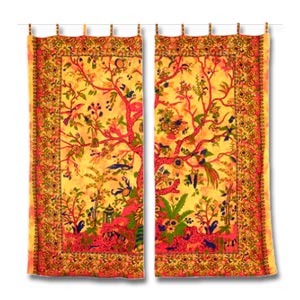
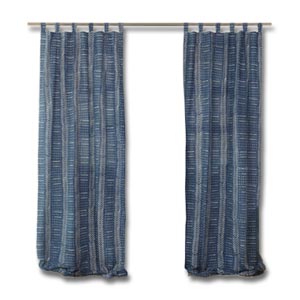
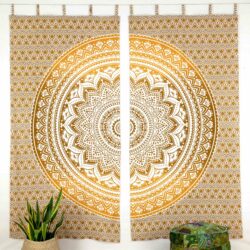
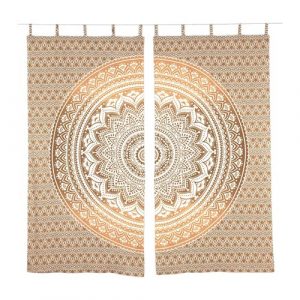 Vorhänge
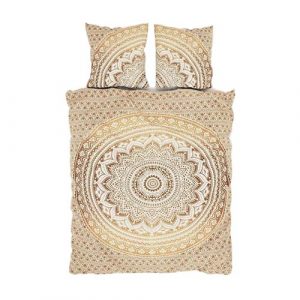 Bettwäsche
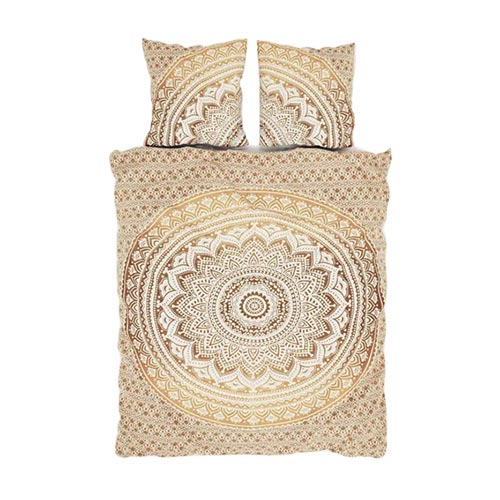
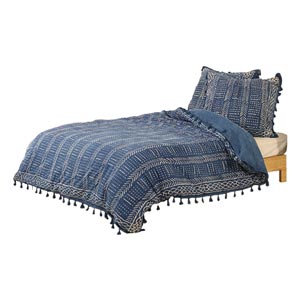
 Bettwäsche
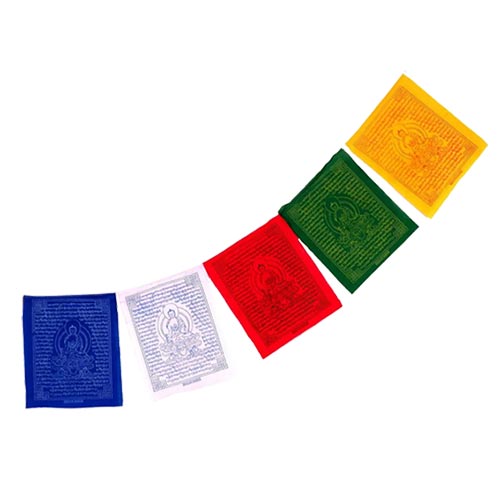
 Gebetsfahnen
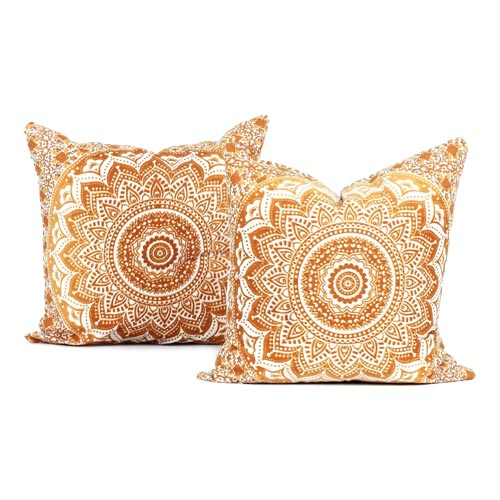 Kissen
 Mandala Kissen
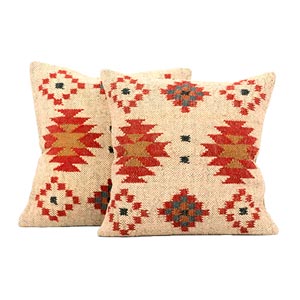 Jute Kissen
 Kissenfüllung
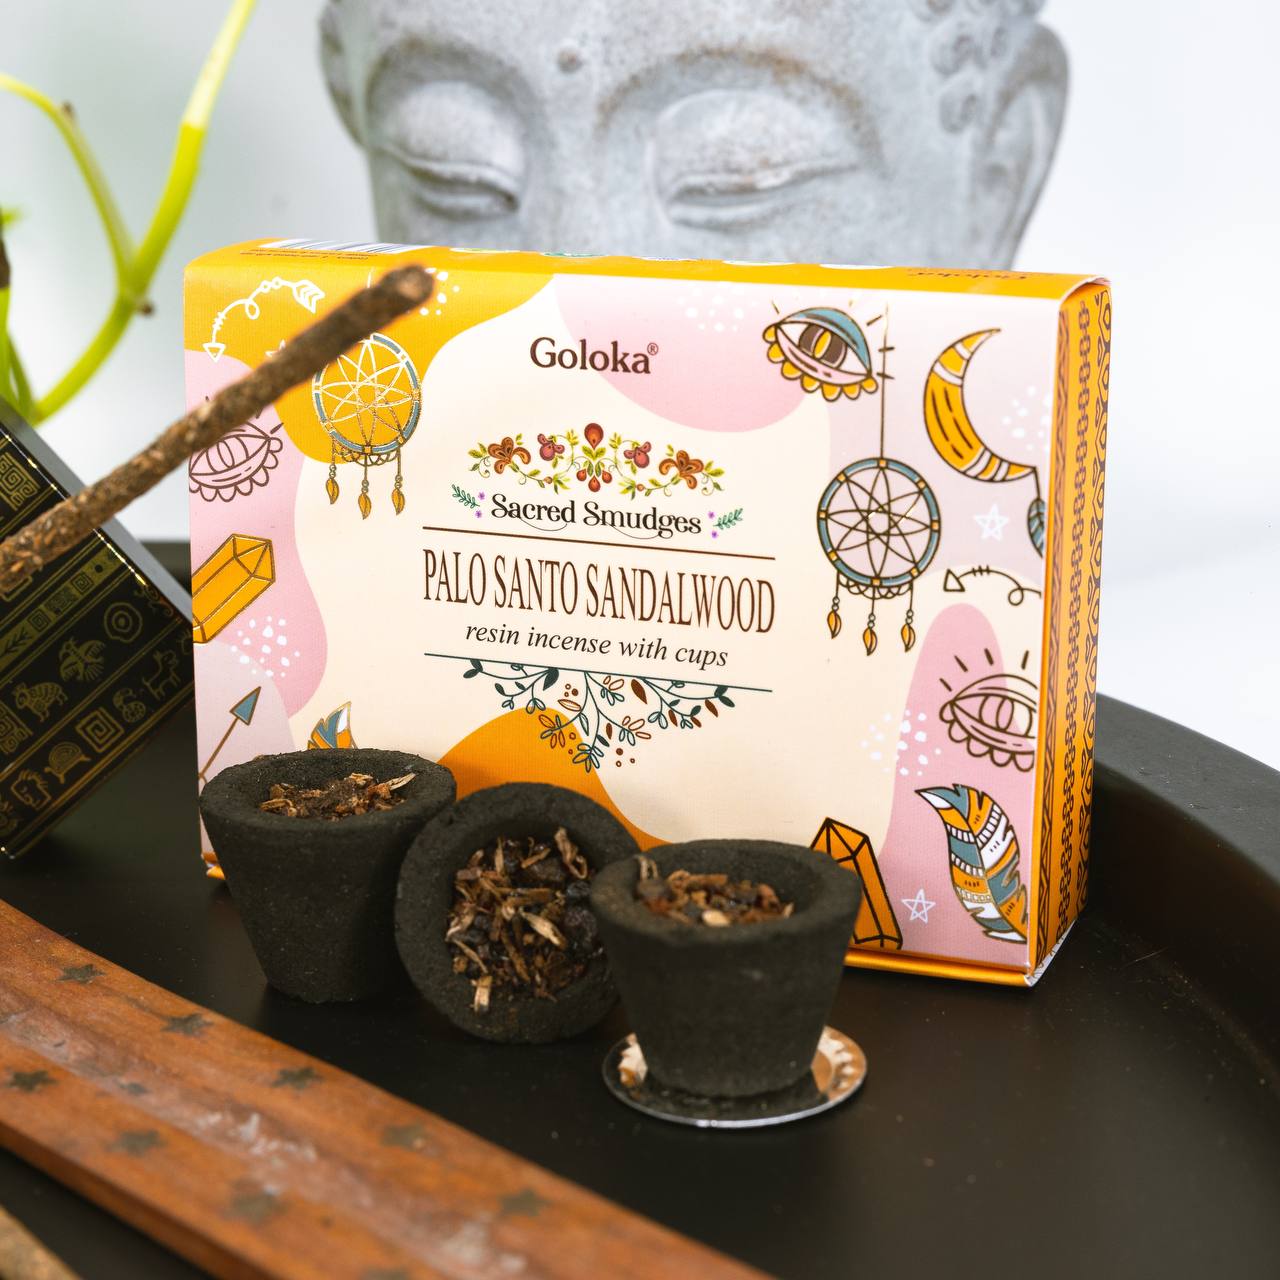
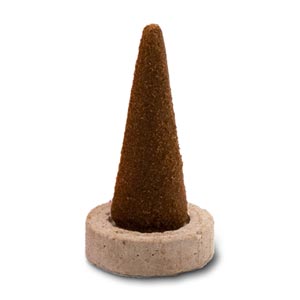
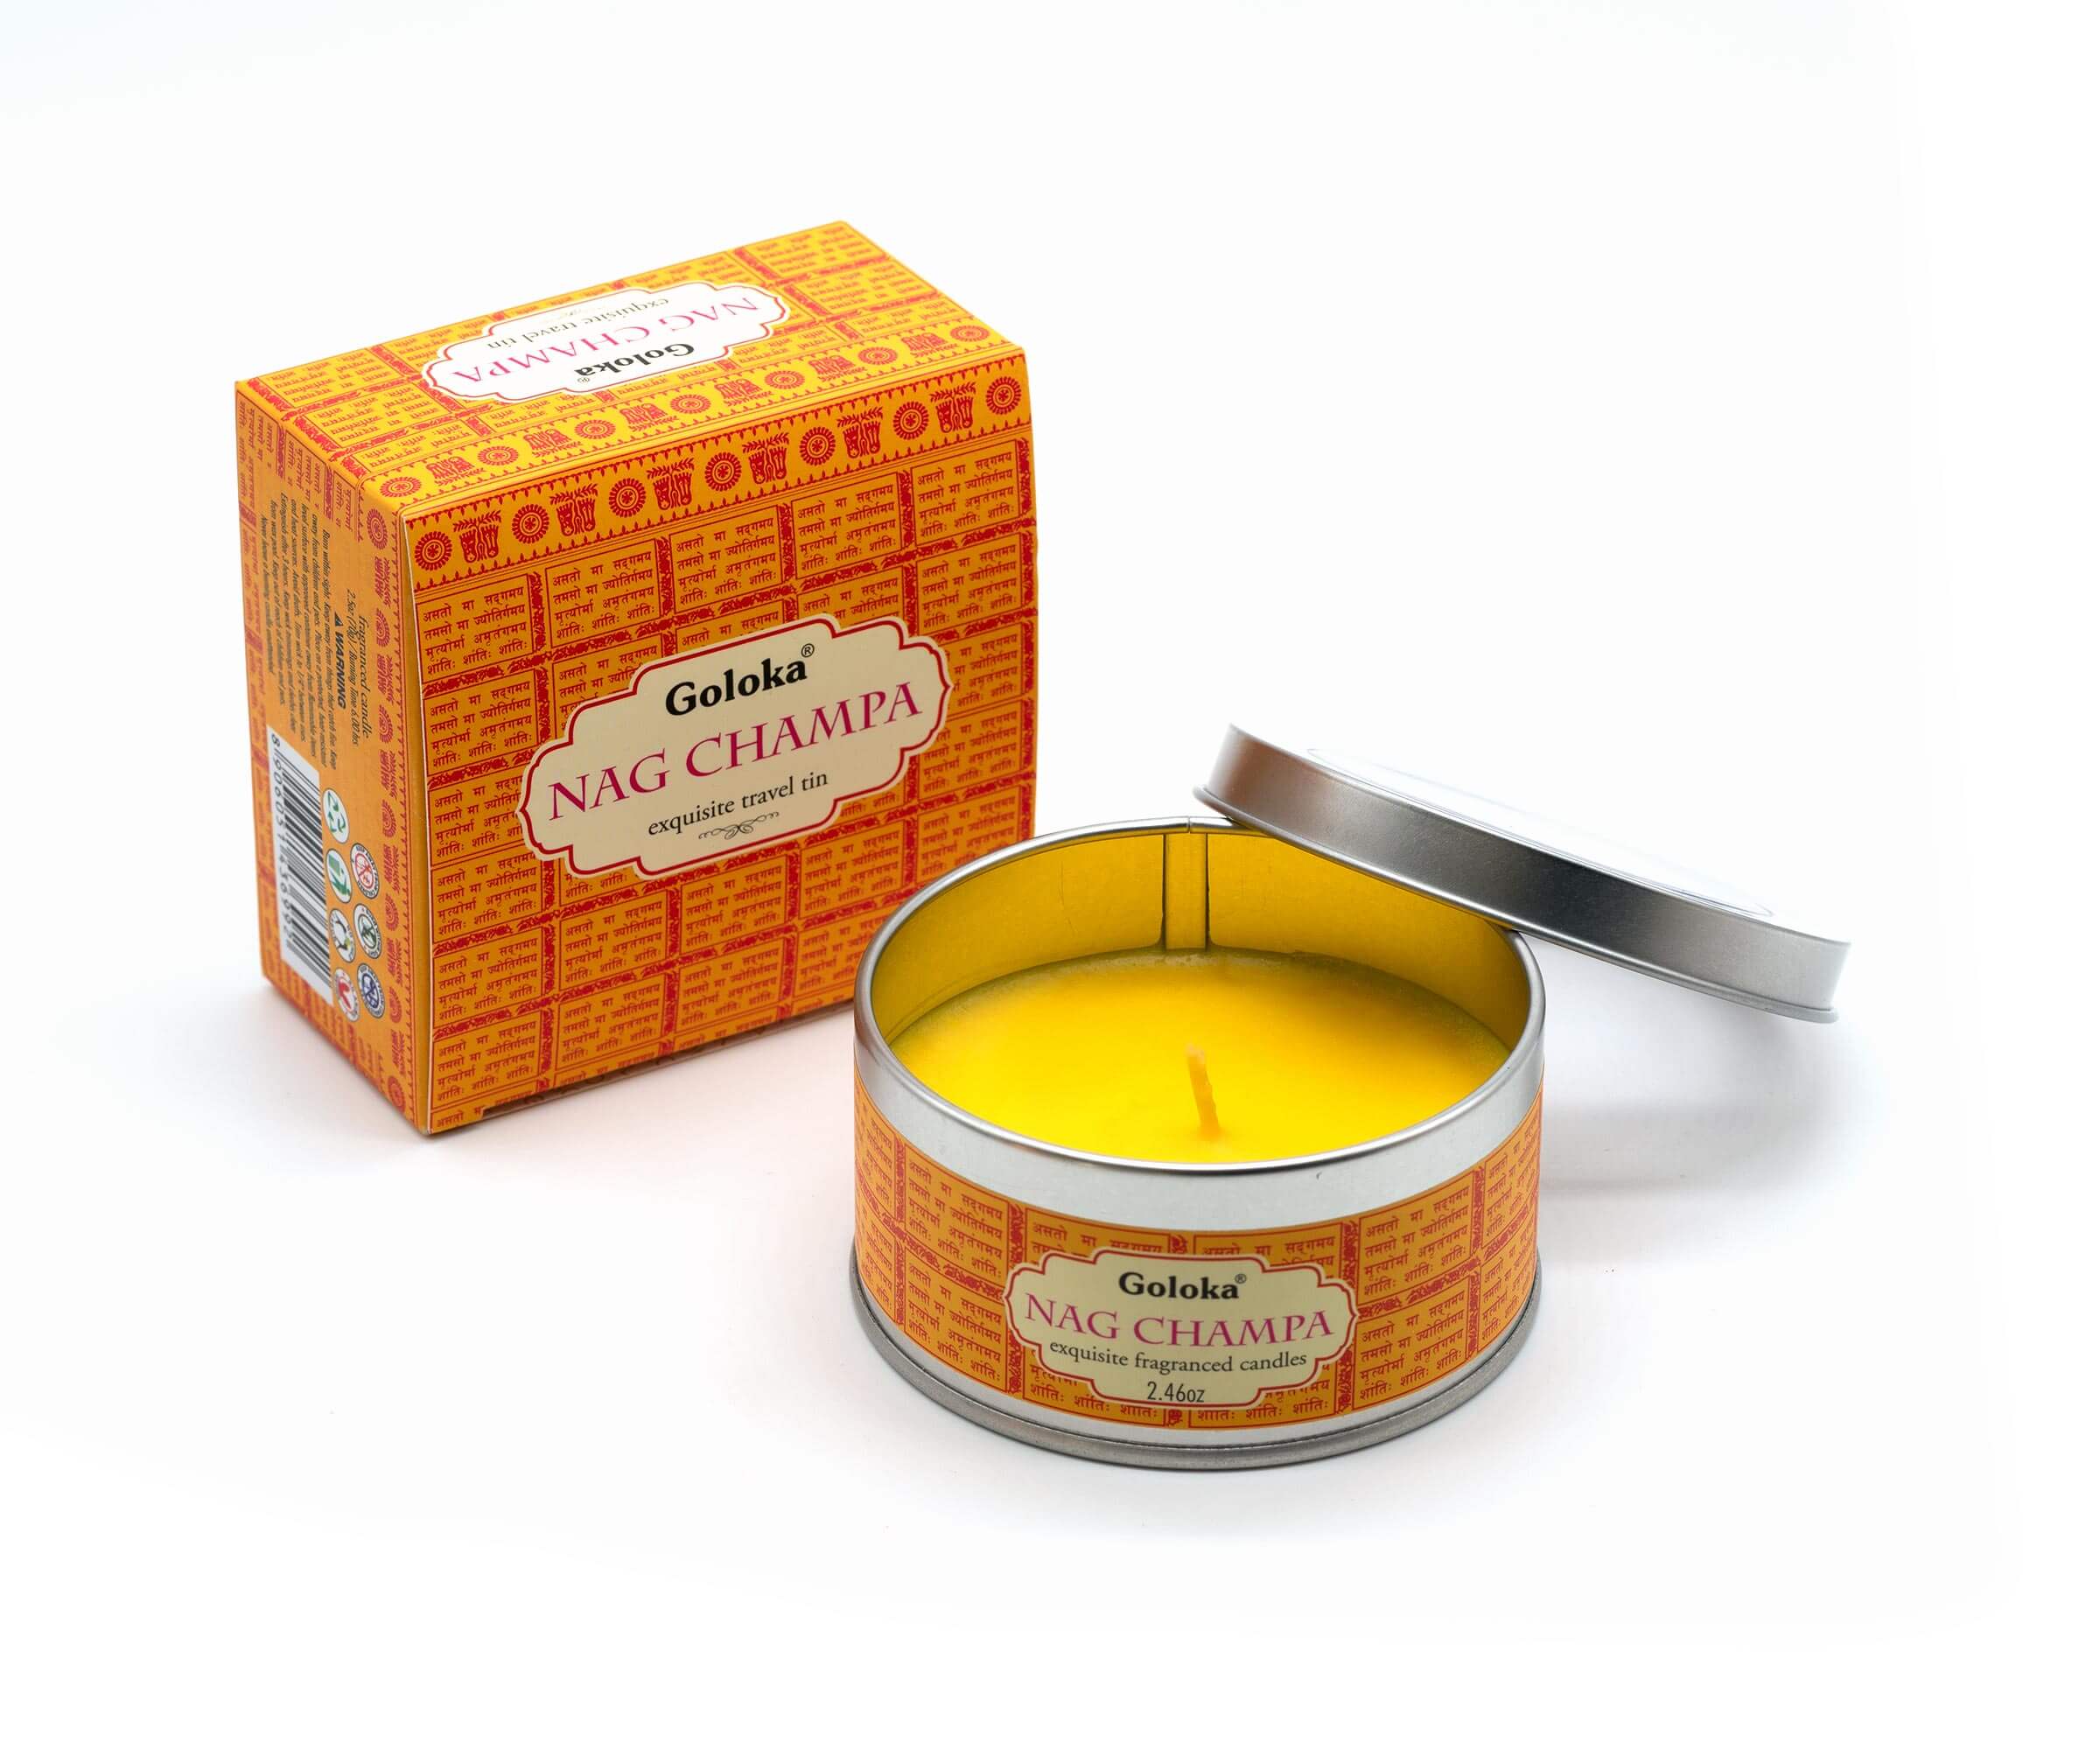
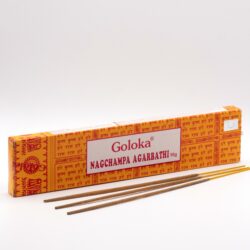
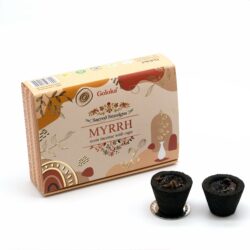
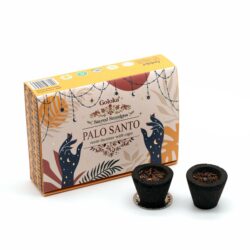
 Räucherwerk
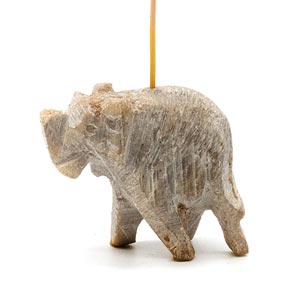
 Räucherstäbchenhalter
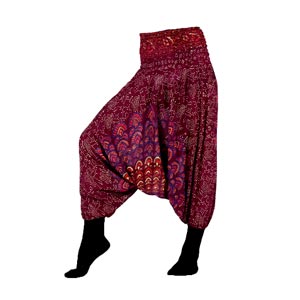
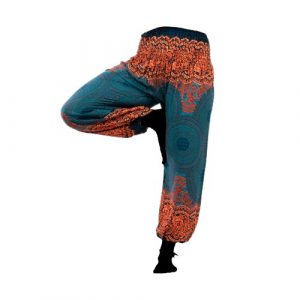 Haremshosen
 Im Angebot
 Gutscheinkarten